Planning an EV charger installation in Northern Virginia can feel overwhelming without a clear roadmap. You need to understand load calculations, select the right Level 2 EV charger, and navigate permitting and inspection requirements. This guide breaks down each step so you can confidently prepare your home or business for EVSE installation. Ready to make the process smooth? Keep reading to learn how Seamless EV handles everything from site evaluation to final commissioning.
Preparing for EV Charger Installation
Getting ready to install an EV charger involves a few crucial steps. Let’s dive into the essentials that will ensure your setup is smooth and efficient.
Assessing Electrical Load Capacity
First up, understanding your electrical capacity is key. Your existing electrical panel must handle the additional load from an EV charger.
-
Start with Load Calculation: Determine the current load on your panel and see if it supports a new EV circuit. If not, an electrical panel upgrade might be necessary.
-
Identify Constraints: Look at your daily electricity usage and the capacity of your panel. This ensures your home or business can manage the new demand.
Assessing your load capacity helps avoid unexpected costs or power issues later on.
Selecting the Right Charger Type
Choosing the right charger can seem tricky, but it doesn’t have to be. You generally have two options: Level 1 and Level 2 chargers.
-
Level 1 Chargers: These plug into a standard outlet and are great for overnight charging. They’re slower but often adequate for home use.
-
Level 2 Chargers: These require a 240-volt outlet and charge much faster. Ideal for busy households or businesses needing quicker turnover.
The choice depends on your daily driving needs and existing electrical setup.
Understanding NEMA 14-50 Outlet Needs
A NEMA 14-50 outlet is common for Level 2 chargers. Here’s what you should know about its requirements.
-
Installation: This outlet requires a dedicated 240-volt circuit. It’s often used for electric ranges or RVs and can handle high power loads.
-
Benefits: Using a NEMA 14-50 outlet can streamline your setup and be cost-effective for faster charging needs.
For many, this outlet type balances speed and ease of use effectively.
Navigating Permits and Installation
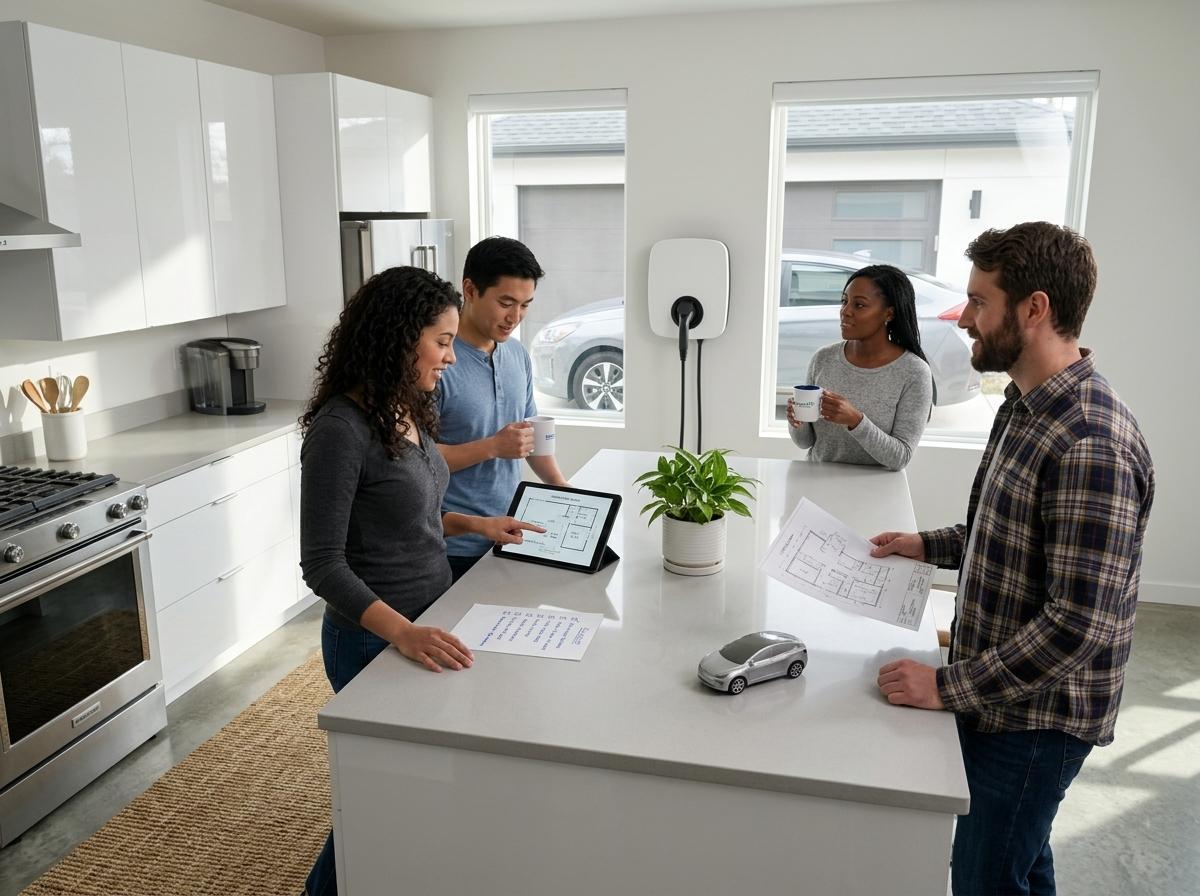
Permits and installation might sound daunting, but with a clear path, it’s straightforward.
Securing Necessary Permits
Permits ensure your installation is safe and up to code. They might seem like a hassle, but they’re crucial.
-
Process Overview: Check with local authorities for required permits. This step prevents potential legal issues down the road.
-
Why It’s Important: Permits confirm that the installation meets safety standards, protecting you and your investment.
Taking care of permits early can save headaches later.
The Installation Process Explained
Understanding the installation process helps manage expectations.
-
Site Evaluation: Professionals assess your setup location to ensure compatibility and safety.
-
Installation Steps: The actual installation involves mounting the charger and connecting it to your electrical panel. A professional ensures everything works correctly.
Knowing what to expect can make the whole process smoother.
Ensuring Code Compliance
Staying code-compliant is essential for safety and legality.
-
Regular Checks: An expert installer will follow local and national electric codes during installation.
-
Final Inspection: A thorough inspection ensures everything is safe and up to standard.
Code compliance is not just about following rules; it’s about ensuring everything functions safely.
Post-Installation Considerations
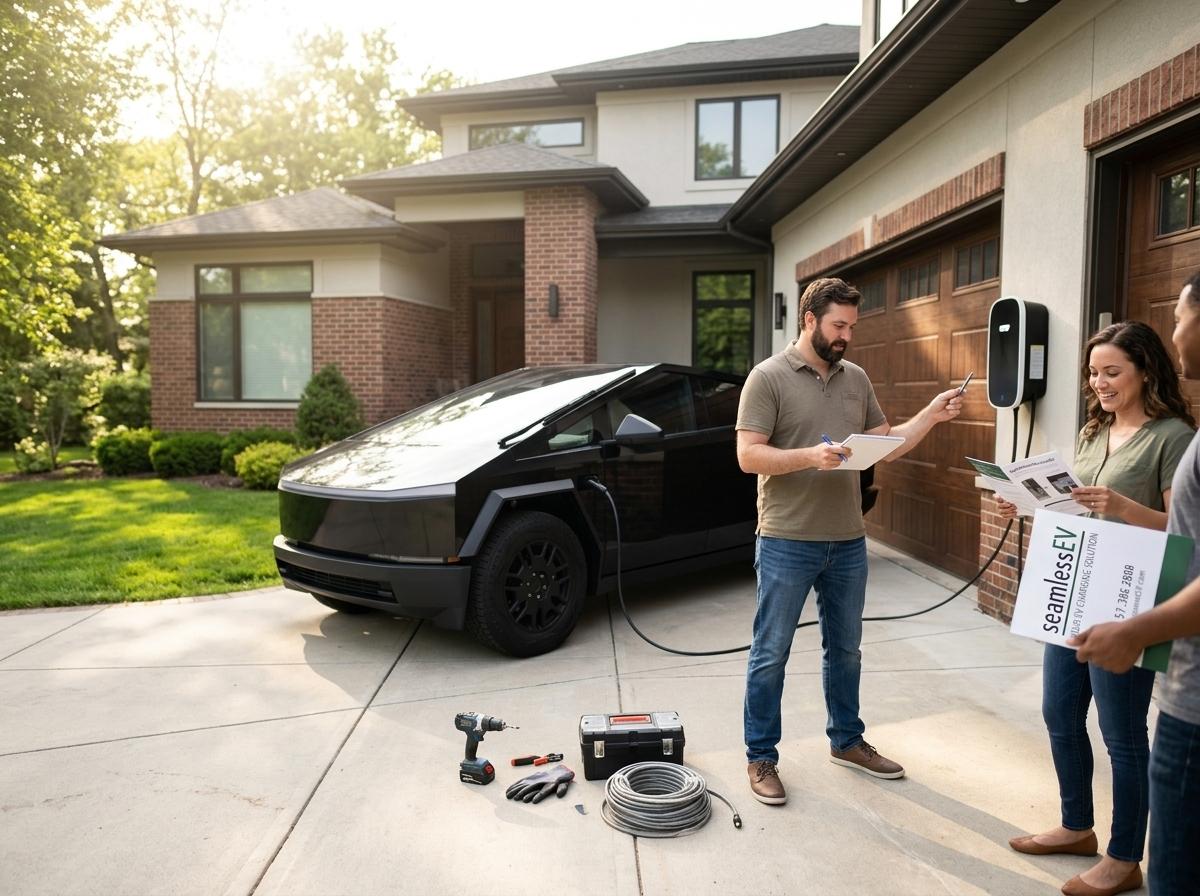
After installation, a few more steps ensure you’re all set to charge confidently.
Inspection and Testing Procedures
Before you start using your charger, it needs thorough testing.
-
Initial Testing: Technicians will test the system to ensure everything is functioning as expected.
-
Safety Checks: These checks protect against malfunctions and ensure long-term reliability.
Proper testing means peace of mind every time you plug in.
User Walk-Through and Support
A user walk-through helps you feel confident using your new charger.
-
Guided Demo: Learn how to operate and troubleshoot your charger from an expert.
-
Ongoing Support: Ensure you have access to support if questions or issues arise later.
Knowing how to use your equipment properly is empowering.
Scheduling Your Site Evaluation
Ready to move forward? Scheduling a site evaluation is your next step.
-
Book a Visit: Professional evaluation is crucial for a successful installation. It identifies potential issues early.
-
Prepare Your Space: Ensure the area is accessible and ready for assessment.
Scheduling your evaluation is the first step toward getting your EV charger up and running smoothly.
Frequently Asked Questions
How do I know if I need an electrical panel upgrade?
You need to assess your current electrical load and compare it to the additional load from an EV charger. A professional can help determine if an upgrade is necessary.
What is the difference between Level 1 and Level 2 chargers?
Level 1 chargers use a standard outlet and are slower, ideal for overnight charging at home. Level 2 chargers require a 240-volt outlet and charge faster, suitable for busy households or businesses.
Why are permits necessary for EV charger installation?
Permits ensure that the installation is safe and complies with local codes. They protect you from potential legal issues and ensure the charger is installed correctly.
What should I expect during the site evaluation?
During a site evaluation, professionals assess your location’s compatibility with the charger and identify potential issues. It’s essential for a smooth and safe installation.
How can I ensure my EV charger installation is code compliant?
Hiring a professional who follows local and national electrical codes ensures your installation is code compliant. They will perform inspections and safety checks to confirm compliance.
Schedule your free site check.