Home EV Charger Installation Checklist for Northern Virginia, Maryland, and DC
Installing an EV charger at home in Northern Virginia, Maryland, or DC isn’t just about plugging in your car. You need to prepare your home’s electrical system, follow local codes, and choose the right equipment. This checklist lays out every step to help you avoid costly mistakes and delays. Keep reading to learn what it takes to get your Level 2 charger installed safely and correctly with Seamless EV.
Preparing for Home EV Charger Installation
Before you jump into installing your EV charger, it’s crucial to lay the groundwork. This ensures a smooth installation process and avoids unnecessary hiccups down the line.
Assessing Your Electrical Panel
Your electrical panel is the heart of your home’s power system. Before installing a charger, check if your panel can handle the extra load. Older panels might need an upgrade, especially if they have limited space for additional circuits. A professional electrician can help determine if your panel is up to the task. They’ll look for available breaker slots and assess your existing power usage. If your panel is nearing capacity, a panel upgrade might be necessary.
For those in Northern Virginia, Maryland, or DC, it’s vital to consider local electrical codes. These regulations ensure safety and efficiency but can vary by location. Being proactive about this step can save you from potential issues later. Don’t forget, a load calculation is essential to see if an upgrade is needed.
Choosing the Right Charger Type
Picking the right charger impacts how quickly your car charges and how much you’ll spend. There are two main types: Level 1 and Level 2 chargers. Level 1 chargers are cost-friendly but slow, while Level 2 chargers offer faster charging, ideal for frequent drivers. If time is a priority, invest in a Level 2 charger installation. Brands like Tesla Wall Connector or ChargePoint Home Flex are popular choices.
Consider your driving habits and how often you use your EV. If you’re driving daily, a Level 2 charger can be more convenient. It provides a full charge overnight, getting you ready for the next day. Plus, if you ever upgrade your vehicle, you’ll likely need more power, making a Level 2 charger a future-proof choice.
Understanding Permit Requirements
Permits are a crucial part of installing an EV charger. Each region has specific rules, and missing out on permits can lead to fines or delays. In Northern Virginia and nearby areas, you’ll need to check with local authorities. Start by visiting the Fairfax County guide for detailed information.
Permits ensure that the installation meets safety standards. It’s not just about following the rules; it’s about ensuring your family’s safety. The process might seem daunting, but with the right guidance, it can be straightforward. Look into resources like the Alexandria EVSE Checklist for a step-by-step guide.
Installation Process Overview
With preparation complete, it’s time to dive into the actual installation process. This section outlines the steps from evaluation to final checks, ensuring your setup is efficient and safe.
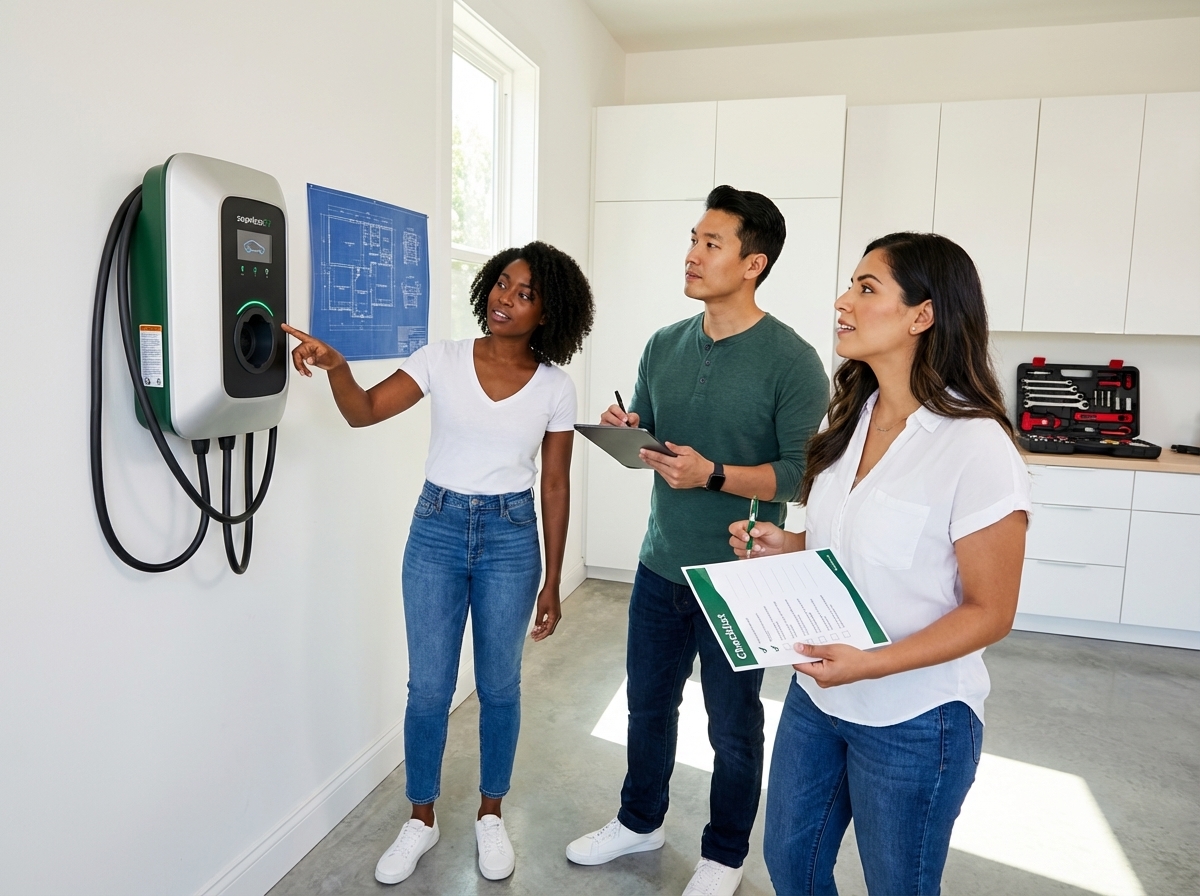
Site Evaluation and Quote
Before installation, a site evaluation is crucial. Professionals will assess your home’s layout, electrical capacity, and charging needs. This evaluation helps determine the best placement for your charger and ensures it meets your needs. Most people think any spot will do, but strategic placement can save you time and money in the long run.
After the evaluation, you’ll receive a quote. This includes costs for installation and any potential upgrades. Keep in mind, the longer you wait to get this done, the more you risk increased costs due to potential changes in equipment prices or regulations. Getting a clear quote upfront helps in budgeting and planning your installation effectively.
Dedicated Circuit and Outlet Options
A dedicated circuit is mandatory for your EV charger. This prevents overloads and ensures safety. Your electrician will recommend the best circuit type based on your charger and panel capacity. Options like the NEMA 14-50 outlet for EV are common for Level 2 chargers, providing a reliable charging solution.
Consider your home’s layout when choosing an outlet location. It should be convenient yet safe, avoiding areas prone to moisture or damage. Ensuring the right outlet setup can prevent future electrical issues and prolong the life of your charger. Always prioritize safety over convenience when making these decisions.
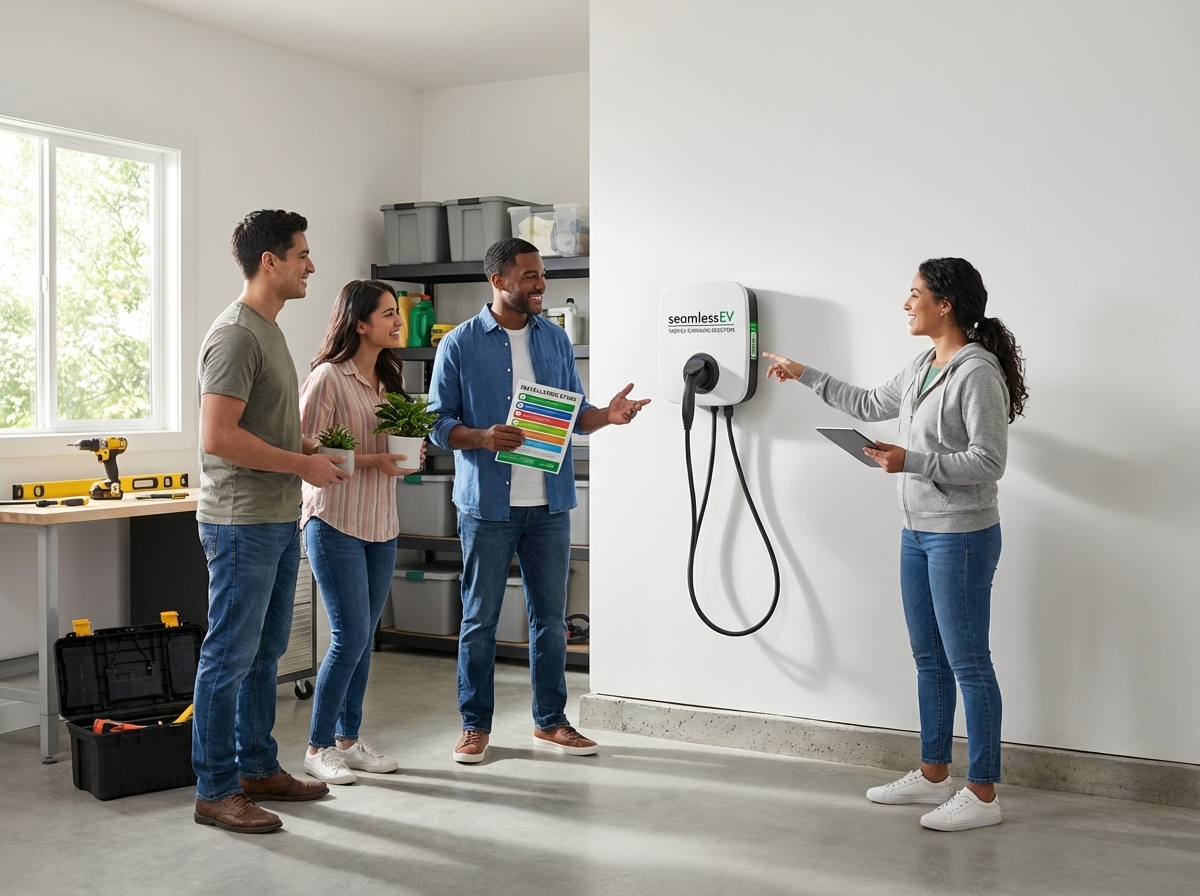
Final Commissioning and Safety Checks
Once installed, it’s time for commissioning. This step involves testing the charger to ensure it’s working correctly. Safety checks are also performed to verify everything is up to code and functioning as expected. This is a crucial step in the process, as it ensures that your charger is ready for daily use.
During commissioning, technicians look for any potential issues. They test the charger’s functionality and check for electrical safety. If any problems arise, they’re addressed immediately. This final step provides peace of mind, knowing your charger is ready and safe for use.
Common Challenges and Solutions
Even with thorough preparation, challenges can arise during installation. This section highlights common problems and offers solutions to keep your project on track.
Load Calculation and Panel Upgrade
One common challenge is calculating the load on your electrical panel. Many homeowners underestimate their panel’s capacity, leading to unexpected upgrades. To avoid this, conduct a load calculation early on. This determines if your panel can handle the EV charger’s demand. If necessary, a panel upgrade ensures your system remains safe and efficient for EV charger installation Northern Virginia or nearby areas.
Underestimating this step can lead to costly delays. By addressing it upfront, you avoid surprises and ensure a smooth installation process. Remember, a proactive approach saves time and money in the long run.
Weatherproofing and Outdoor Installations
For outdoor installations, weatherproofing is crucial. Chargers exposed to the elements need protection to function correctly and safely. Consider weatherproof enclosures or covers, especially if your charger is in an open area. Most people assume their outdoor setup is durable, but without proper protection, it can quickly degrade.
Address potential issues like rain, snow, or extreme temperatures. Investing in quality weatherproofing materials can extend the life of your charger and prevent frequent maintenance or replacements. It’s an investment in reliability and peace of mind.
Trenching for Detached Garage Charging
If your charger is far from your main panel, such as in a detached garage, trenching might be necessary. This involves digging to lay cables safely. Trenching can be labor-intensive but is essential for providing power to remote locations. It ensures your charger has a stable and reliable connection.
Consider professional help for trenching. While some may attempt it as a DIY project, the risks often outweigh the costs saved. Professionals can ensure the job is done correctly, avoiding potential electrical hazards or future issues. Proper trenching is key to a successful detached garage EV charging setup.
By following this checklist, you can ensure a smooth, efficient, and safe EV charger installation at your home. Take the time to plan and prepare, and you’ll enjoy the benefits of convenient home charging without the headaches.
Schedule your free site check.