Essential Home EV Charger Installation Checklist: Smooth Setup in Northern Virginia, MD, and DC
Installing a home EV charger in Northern Virginia is more than just plugging in a device. Without the right prep, you could face costly delays or code issues. This checklist covers the key steps to avoid those headaches and get your Level 2 EV charger up and running quickly. Keep reading to learn how Seamless EV installers ensure a smooth, code-compliant setup every time. For additional guidance, you can check out this complete setup guide.
Preparing for Home EV Charger Installation
Before diving into the installation, it’s crucial to prepare your home for the process. This preparation ensures that everything goes smoothly and efficiently on installation day.
Assessing Your Electrical Panel
Start by checking your home’s electrical panel. You need to ensure it can handle the extra load from an EV charger. Most homes built in the last decade will be okay. But if your home is older, you might need an upgrade. A professional electrician can help you determine if your panel can accommodate a Level 2 EV charger.
-
Amperage Check: Your panel should have enough amperage to support the charger. Typically, a Level 2 charger requires a 240-volt outlet.
-
Possible Upgrade: If your panel lacks capacity, an upgrade might be necessary. This could mean adding a new circuit or even replacing the panel. Learn more about panel upgrades.
Understanding Local Permits and Code
Next, you’ll need to navigate local permits and codes. Installing a home EV charger isn’t just about plugging in and going. Many areas have specific requirements. Knowing these can prevent fines or delays.
-
Permit Requirements: Check if your area requires a permit for EV charger installation. Often, this involves submitting plans and paying a fee.
-
Code Compliance: Ensure your setup aligns with local electrical codes. An installer familiar with your area’s regulations can be invaluable. Get more details on regulations in your area.
Evaluating Load for EV Charger
Finally, evaluate the load your new charger will add to your electrical system. This step helps avoid overloading circuits, which can lead to outages or hazards.
-
Load Calculation: Calculate the total load on your electrical circuits. This includes everything from lights to major appliances.
-
Professional Assessment: Have a professional perform a load calculation. They’ll ensure your system can handle the charger without issues. Here’s a guide on load calculations.
Professional Installation Process
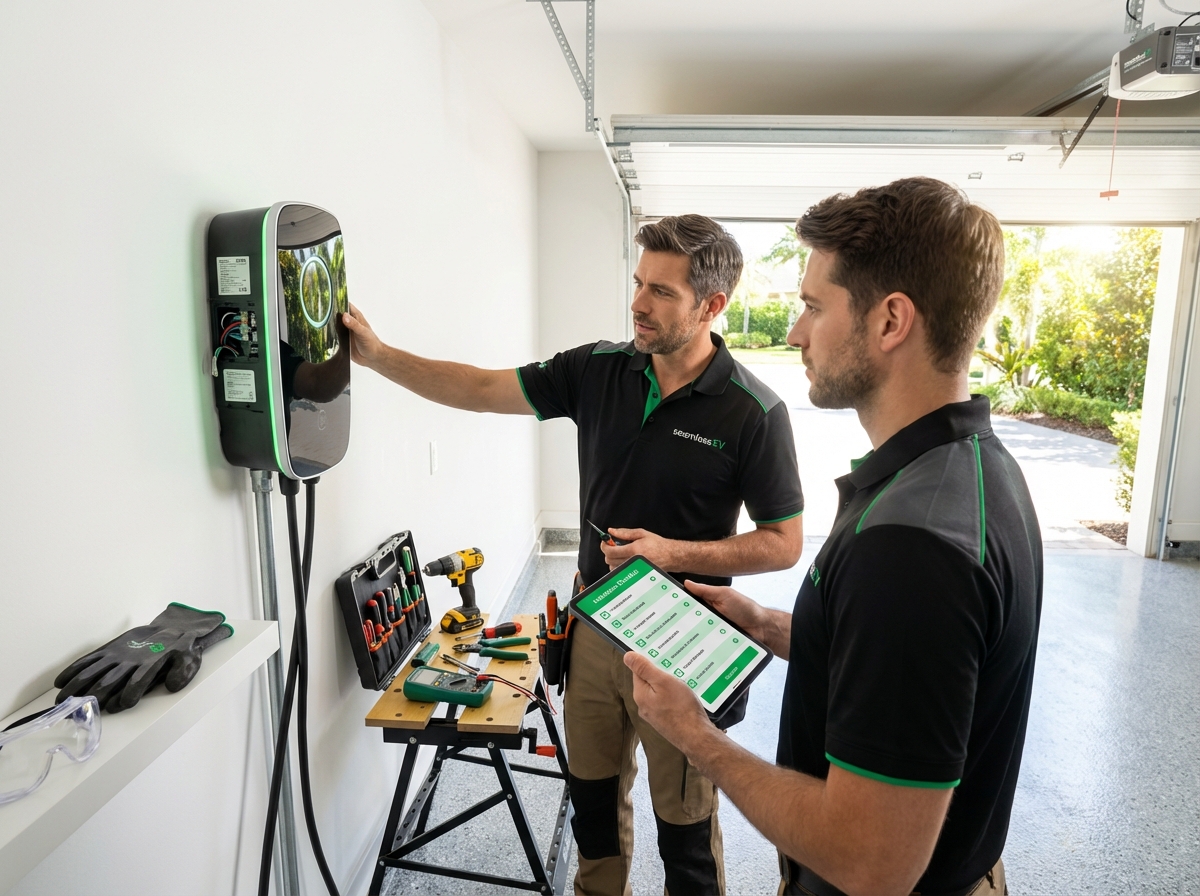
With your home ready, it’s time to move to the installation process. Choosing the right installer can make all the difference.
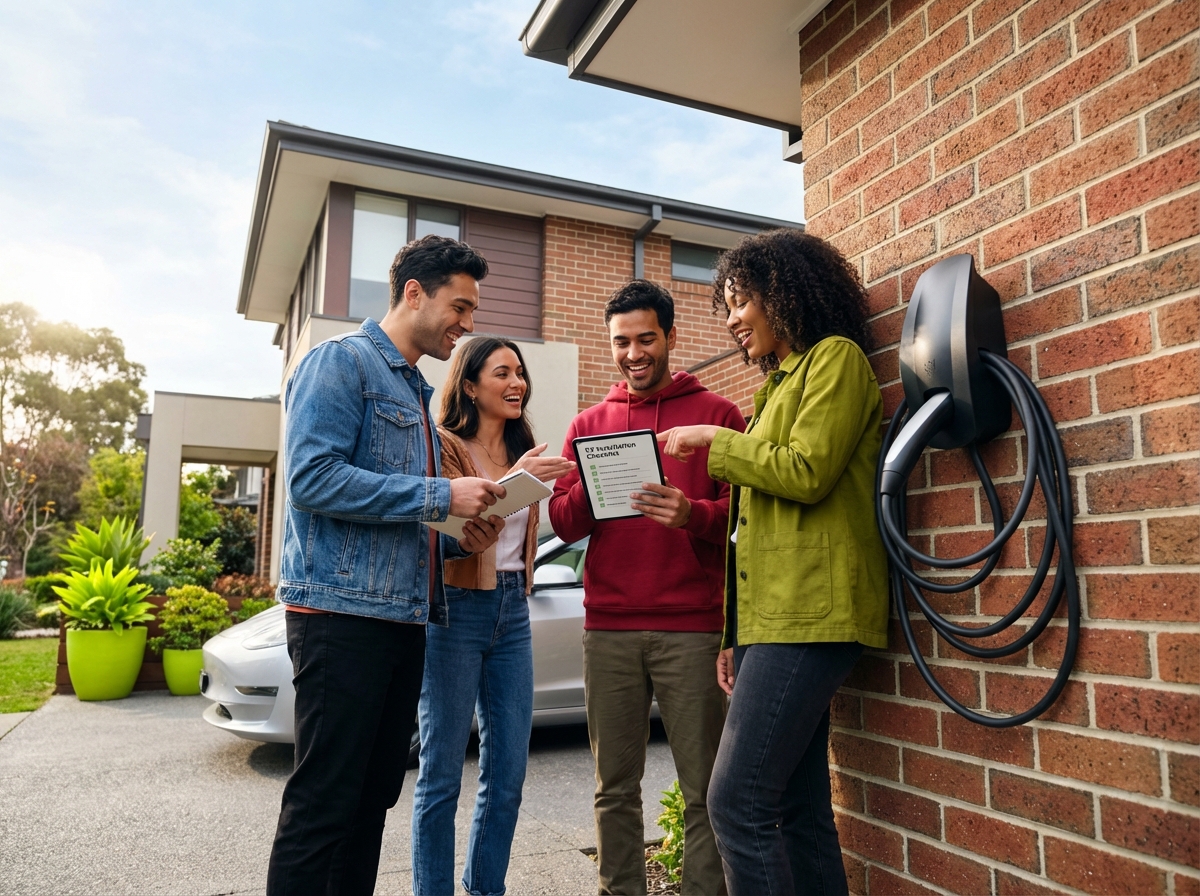
Scheduling a Site Evaluation
Scheduling a site evaluation is the first step toward a smooth installation. A professional will assess your home and discuss the best options for your needs.
-
Understanding Needs: During this evaluation, the installer will review your electrical system and discuss your charging needs.
-
Customized Plan: You’ll get a tailored plan that includes potential upgrades and the best location for your charger. This step ensures there are no surprises on installation day.
Choosing Between Level 1 and Level 2 Chargers
Choosing the right charger is crucial. Level 1 chargers are slower but cheaper. Level 2 chargers offer faster charging times and are more efficient for daily use.
-
Level 1 Basics: Level 1 chargers use a standard 120-volt outlet. They’re great for occasional use or overnight charging.
-
Level 2 Efficiency: Level 2 chargers require a 240-volt outlet. They’re ideal for drivers with higher daily mileage. Deciding which level suits your lifestyle can save time and money.
Tesla Wall Connector Installation Basics
For Tesla owners, a Wall Connector offers convenient and fast charging at home. It’s designed for easy use and integrates seamlessly with your home.
-
Installation Specifics: The Tesla Wall Connector needs a dedicated circuit. It’s capable of charging faster than standard outlets.
-
Professional Setup: Having a pro handle this ensures proper installation and optimal performance. This setup allows you to charge your Tesla efficiently and safely.
Maximizing Your Charging Setup Benefits
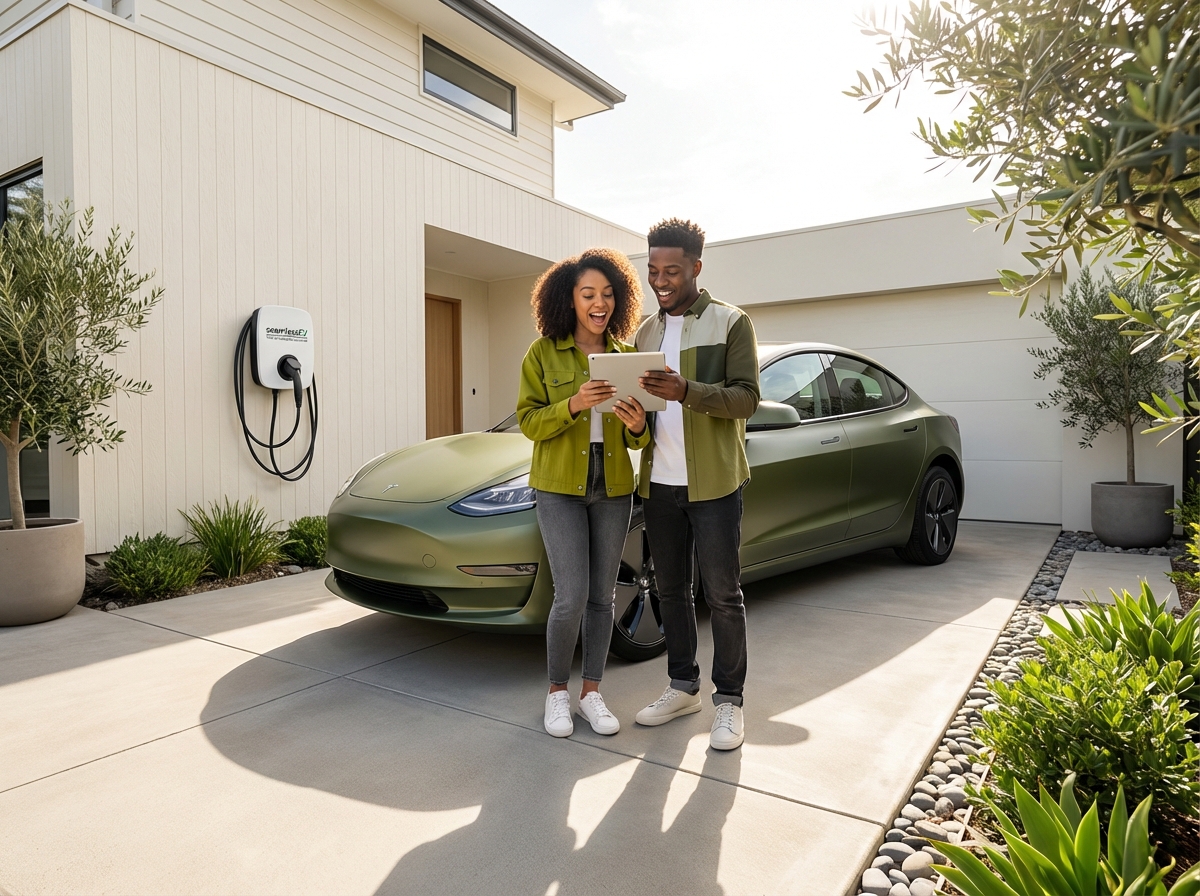
With your charger installed, it’s time to explore ways to maximize its benefits. From rebates to extended support, these extras can enhance your experience.
Exploring EV Charger Rebates in Virginia
Virginia offers several rebates for EV charger installations. These can offset costs and make the transition to electric vehicles more affordable.
-
State Incentives: Virginia provides rebates for both residential and commercial chargers. Check eligibility to benefit from these.
-
Application Process: Applying for rebates typically involves submitting proof of purchase and installation. Doing this promptly ensures you don’t miss out. Explore available rebates here.
Commercial EV Charging Solutions
For businesses, offering EV charging can attract customers and employees. Installing commercial chargers is a strategic move for forward-thinking companies.
-
Business Benefits: Providing charging solutions can increase foot traffic and customer satisfaction.
-
Installation Options: Businesses can choose from multiple options to suit their space and budget. A professional installer can guide you on the best choice.
Post-Installation Support and Training
After installation, support is crucial. Seamless EV provides ongoing assistance to ensure your charger works perfectly.
-
Customer Support: Access to support helps resolve issues quickly. This ensures your charger remains reliable.
-
User Training: Training on charger use can enhance the experience, making it easier to adapt to new technology.
By preparing properly and choosing the right installer, you can enjoy a hassle-free setup. Consider a professional evaluation to ensure your home is ready for an EV charger. With the right preparation, you can avoid delays and enjoy efficient at-home charging.
Schedule your free site check.
12 Responses